
Last Updated on May 6, 2024 by Sharaj
If you’re a gardening enthusiast or a lawn care professional, you probably know the importance of a well-maintained strimmer.
The strimmer wire is an essential component of this versatile tool, and knowing how to change it is a fundamental skill that every user should possess.
In this detailed guide, we will walk you through the process of changing the strimmer wire efficiently. From understanding the types of strimmer wire to step-by-step instructions for replacement, we’ve got you covered.
So, let’s dive in and master the art of strimmer wire replacement!
How to Change Strimmer Wire: The Basics
Before we delve into the step-by-step process, it’s essential to familiarize ourselves with the basics of strimmer wire.
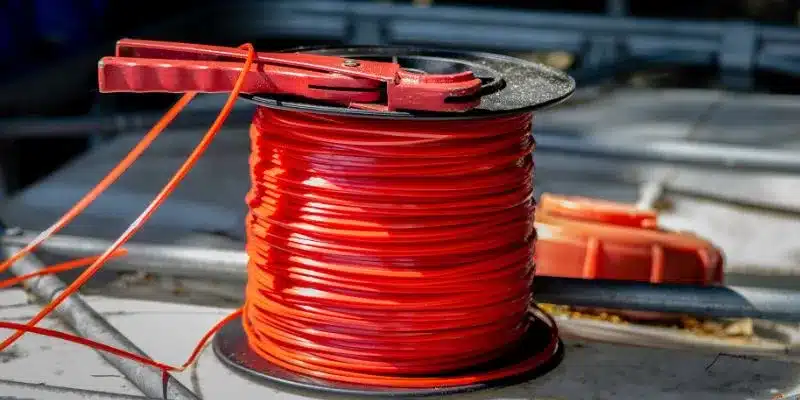
Strimmer wire, also known as trimmer line or strimmer line, is a durable and flexible string used to cut grass, weeds, and other vegetation in your garden or lawn. It comes in various shapes and thicknesses, designed to fit different strimmer heads and cutting requirements.
There are two primary types of strimmer wire available:
Round Strimmer Wire: This type of strimmer wire features a circular cross-section and is ideal for general trimming tasks. It works well on grass and light weeds, making it suitable for most domestic applications.
Twisted Strimmer Wire: As the name suggests, this wire has a twisted shape that offers increased cutting power. It is more effective against tougher vegetation like dense weeds and small shrubs, making it suitable for professional landscaping projects.
Now that we’ve covered the basics let’s move on to the step-by-step guide on how to change strimmer wire effectively.
Step-by-Step Guide on How to Change Strimmer Wire
Gather the Required Tools and Safety Equipment: Before starting the strimmer wire replacement process, ensure you have all the necessary tools and safety equipment. You will need a replacement strimmer wire spool that matches your strimmer’s specifications, gloves, safety goggles, and a pair of pliers.
Power Off and Disconnect the Strimmer: For safety reasons, always ensure that the petrol strimmer is powered off and disconnected from the power source before attempting any maintenance or replacement.
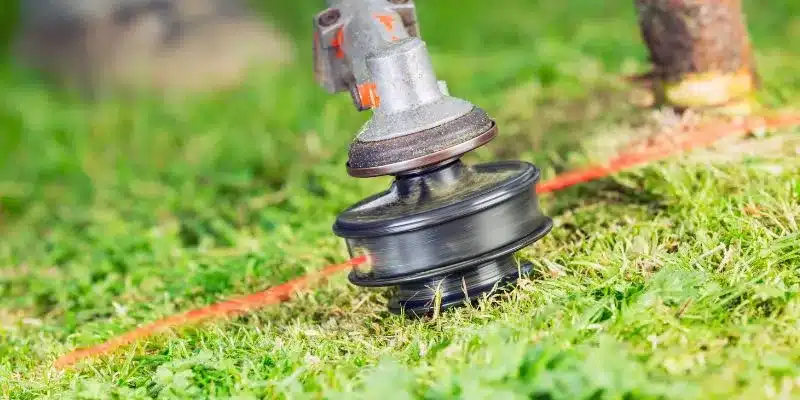
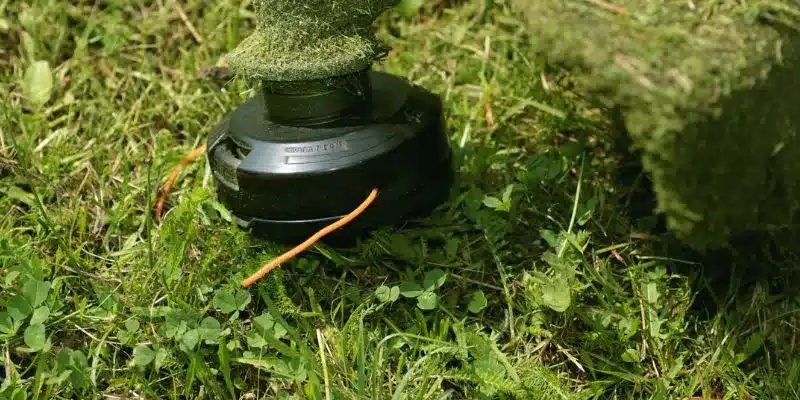
Locate the Strimmer Head: The strimmer head is the part of the tool that holds the strimmer wire. Depending on the strimmer model, it may have a bump feed system or require manual winding of the wire.
Remove the Old Strimmer Wire: If the strimmer wire is used up or broken, carefully remove the remnants from the strimmer head. Use the pliers to detach any tangled pieces.
Prepare the Replacement Strimmer Wire: Take the new strimmer wire spool and measure an appropriate length for your strimmer head. Typically, a length between 8 to 10 feet is sufficient for most strimmers.
Insert the Replacement Strimmer Wire: Following the manufacturer’s instructions, insert the new strimmer wire into the strimmer head. Make sure it is securely seated in the head’s notches or holes.
Wind the Strimmer Wire: If your strimmer requires manual winding, carefully wind the replacement wire around the head in the direction indicated by the arrow. Ensure it is evenly wound to prevent tangling during operation.
Engage the Bump Feed System: For strimmers with a bump feed system, gently tap the strimmer head on the ground to release more line. This step may require a few taps until the desired line length is achieved.
Trim the Strimmer Wire: Once the replacement wire is in place, trim it to the appropriate length using a sharp pair of scissors. Avoid cutting it too short, as it may affect cutting performance.
Inspect and Secure: Double-check all the connections and make sure the replacement wire is securely fixed in the strimmer head. Properly reassemble any components that were removed during the process.
Reconnect the Strimmer: Once you are confident that the replacement wire is correctly installed, reconnect the strimmer to the power source.
Test the Strimmer: Turn on the cordless strimmer and test it in a controlled area to ensure that the new strimmer wire is working correctly and cutting effectively.
Adjusting the Cutting Height: If necessary, adjust the cutting height according to your specific lawn or gardening requirements. Refer to your strimmer’s user manual for guidance on adjusting the cutting height.
Maintain and Store the Strimmer Wire: Regularly inspect the strimmer wire for signs of wear and tear, and replace it whenever needed. Properly store the replacement wire in a dry and cool place to maintain its quality.
Frequently Asked Questions
How often should I change the strimmer wire?
The frequency of strimmer wire replacement depends on the usage and the type of vegetation you are cutting. For regular domestic use, changing the wire once every few months should be sufficient. However, for professional landscaping projects with more demanding tasks, you may need to change it more frequently.
Can I use any type of strimmer wire for my strimmer?
It is essential to use the strimmer wire recommended by the manufacturer or one that is compatible with your strimmer model. Using the wrong type of wire may result in poor cutting performance and could potentially damage your tool.
My strimmer wire keeps breaking. What am I doing wrong?
Several factors can cause the strimmer wire to break frequently, such as hitting hard objects like rocks or fences, using the wrong type of wire for the task, or improper winding of the wire on the head. Ensure you are using the correct wire and follow the winding instructions carefully to prevent premature breakage.
Can I sharpen the strimmer wire for better cutting performance?
Strimmer wire is not designed to be sharpened and should be replaced when it becomes dull or worn out. Attempting to sharpen the wire may compromise its structural integrity and effectiveness.
Can I reuse the old strimmer wire?
It is not recommended to reuse old strimmer wire, as it may have become brittle or damaged during use. Always use a fresh, high-quality replacement wire for optimal cutting performance.
Can I change the strimmer wire if I’m not mechanically inclined?
Changing the strimmer wire is a relatively simple task that most users can perform with basic mechanical knowledge. However, if you feel unsure or uncomfortable doing it yourself, consider seeking assistance from a professional or someone experienced in strimmer maintenance.
Conclusion
Congratulations! You have now acquired the knowledge and expertise to change strimmer wire like a pro.
By following the step-by-step guide and adhering to safety practices, you can efficiently replace the strimmer wire and maintain your